Home Canning Supply Guide & Essential Information - Getting Started with Home Canning
By Chef Austin
Canning at home isn't too difficult when you have all the right canning supplies. Whether you're canning green beans from the summer garden or making strawberry jam to enjoy during the colder months, Everything Kitchens has the perfect tools for you to stock your pantry. Depending on what you are canning will determine which process of canning you'll want to go with. Check out our quick guide to get you started canning at home with the right supplies.
Top 10 Essential Tools for Home Canning
No matter which method of canning you're going to choose, there are tools that are universal to all canning methods. Save time and effort in the kitchen with our top 10 tools you'll need before your jars hit the water bath.
Above are the absolute essentials for canning: jars, labels, lifters, funnels, and tested recipes.
1.Ball's Guide to Preserving Book - Demystify the canning process. Ball, the mega mason jar maker, has an amazing guide to get started canning. Their full-color book has picture tutorials to water bath canning and pressure canning and goes into detail of how canning works. Ball's Guide to Preserving also has tons of safe and tested canning recipes to get you started in the canning world! I highly recommend this book if you are just starting to can at home.
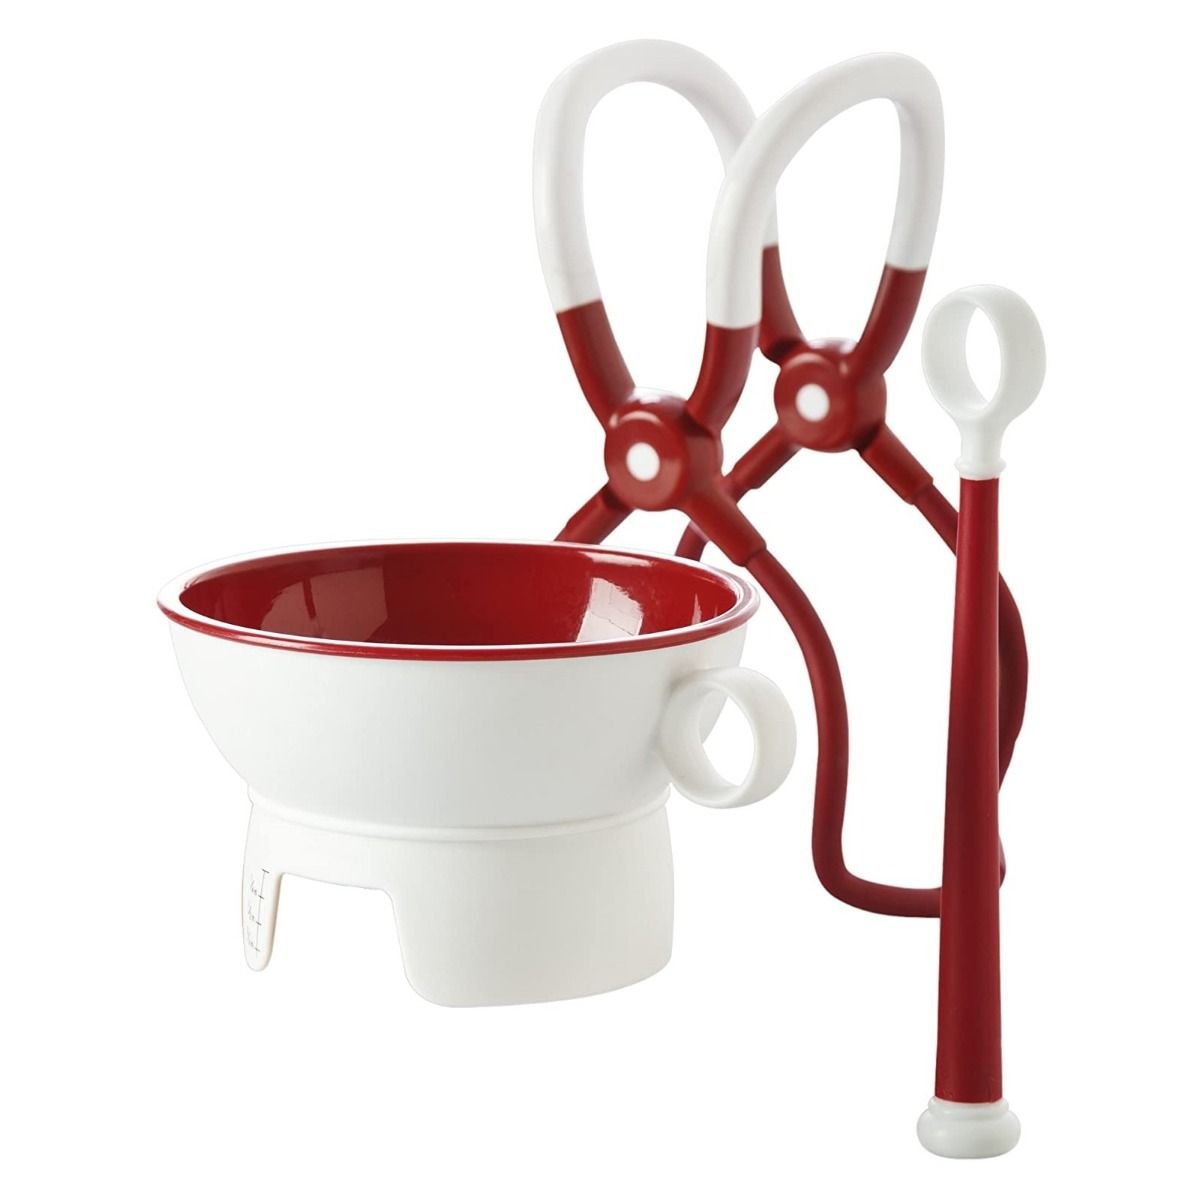
2.Jar & Lid Lifters- Extracting jars from boiling water baths isn't difficult when you have the right tools. Lower and raise your canned goods out of boiling water with a jar lifter. Sanitize your lids in and lift them out of boiling water with a magnetic lid lifter. The Progressive Canning Essentials Kit has all these tools along with a canning funnel.
4. Bubble Freer & Headspace Tool - This tool removes trapped air in between food and especially in jams & jellies. It also doubles as a headspace measurement tool to easily see if you need to add or subtract food from your jars.
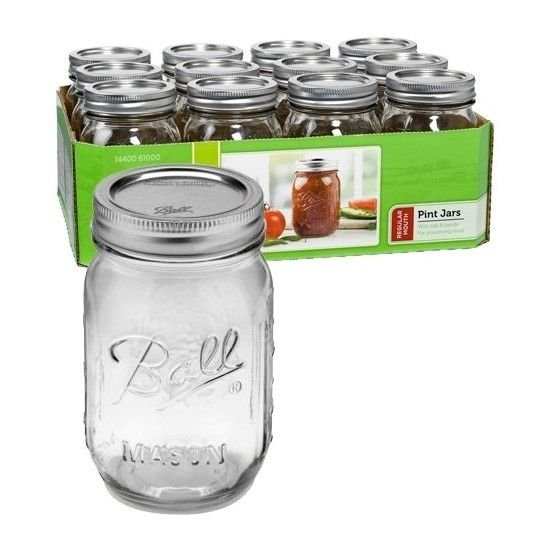
5.Jars - Obviously you need these to can any food. Consider what size you want for your food. Do you want small jelly jars to pass out as gifts for the holidays? Or do you need bigger quart jars of tomato sauces for a lasagna? Taller jars are also great for taller veggies like asparagus and pickle spears. Pint size jars are perfect for a few servings of peaches. You might already have a plethora of glass jars at home, and as long as they are in good condition, they can be reused again for canning. Be sure to get new jar lids - don't reuse that old previously-sealed lid! Never take the risk of using an old seal that could break and spoil food - always use a brand new seal on old jars.
6.Canning Jar Labels - How long ago did I can that? You might know it's green beans, but you may not remember how long it's been on the shelf. Pick up some Canning Jar Labels to label and date all your canned goods. This 60 pack from Ball even dissolves under water when you're washing your emptied jars.
Above are tools that make prepping your food to can much faster, easier, and more consistent.
7.Food Mill - This is an essential tool if you want to make jellies, jams, and sauces. It not only purees the food you put into it, but also strains out fibers, big seeds, and skin because nobody wants stringy peach butter or a seedy jelly. This model from Weston is great because it has 3 interchangeable milling disks for ultimate control of your sauces and purees. You also may want to pick up Fine Mesh Strainer to run that milled food through if you want a very fine strain for juices and jellies.
8.Sauce Maker & Food Strainer - If you want all of the tiny seeds out of your tomatoes, blackberries, and other fruits I'd recommend the Weston Roma Sauce Maker and Food Strainer. It has a fine-holed screen to remove those pesky seeds you don't want in your jellies, applesauce, and tomato sauces.
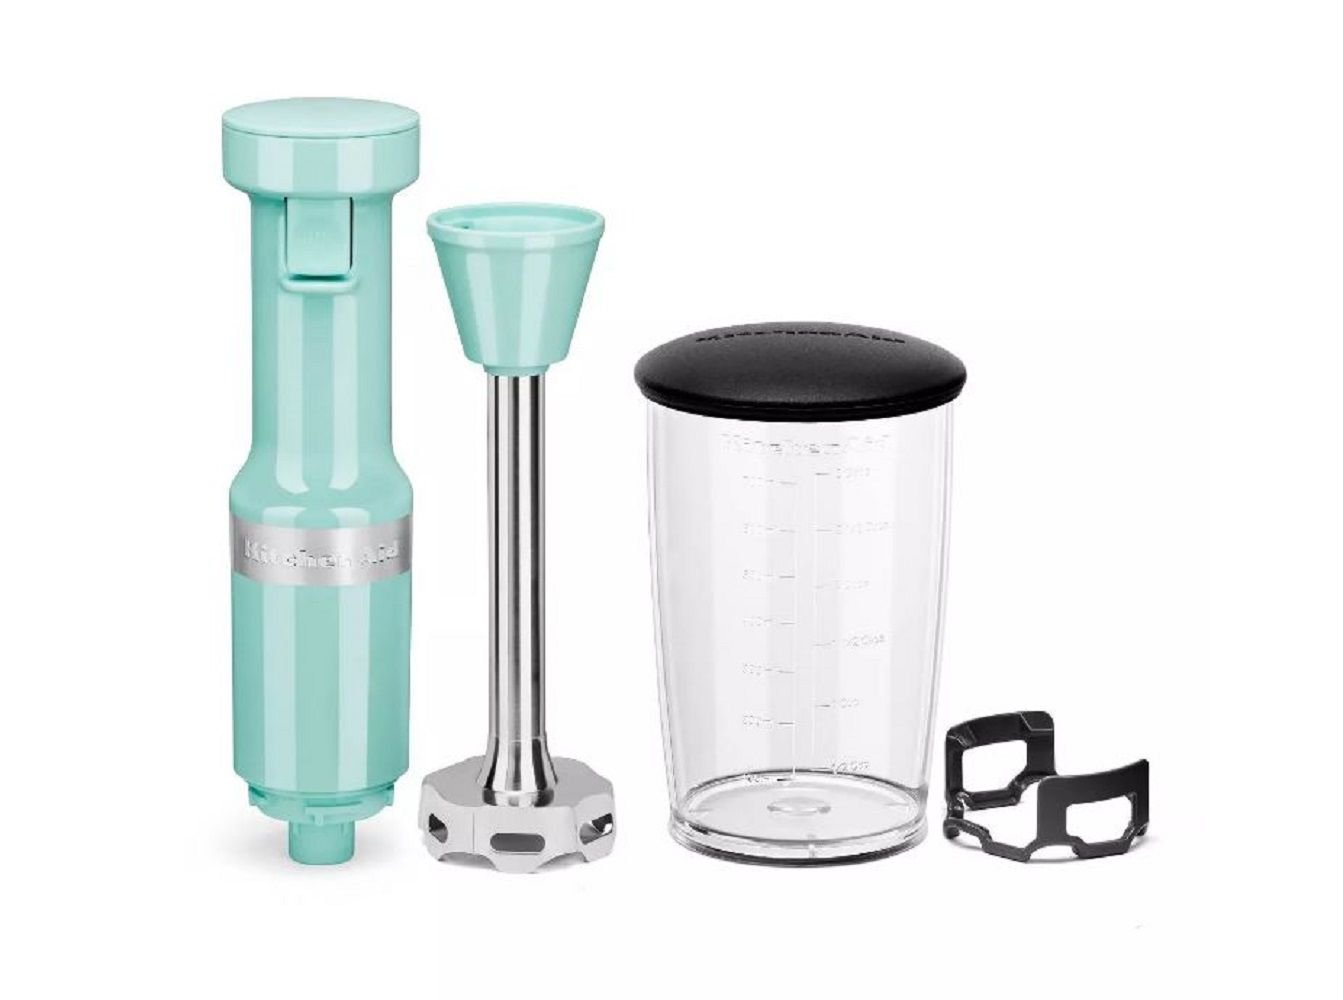
9. Immersion Blender - You don't need to break out the big clunky blender to make a sauce you want to can. Bring the blender right to your cooking pot with an immersion blender. The Braun Immersion Blender is great for quickly making a pureed salsa or pasta sauce out of your tomatoes and other vegetables. Blend just a little bit for a chunky texture or keep blending for a smooth and consistent sauce. If you need an inexpensive immersion blender, check out all the colorful options from KitchenAid.
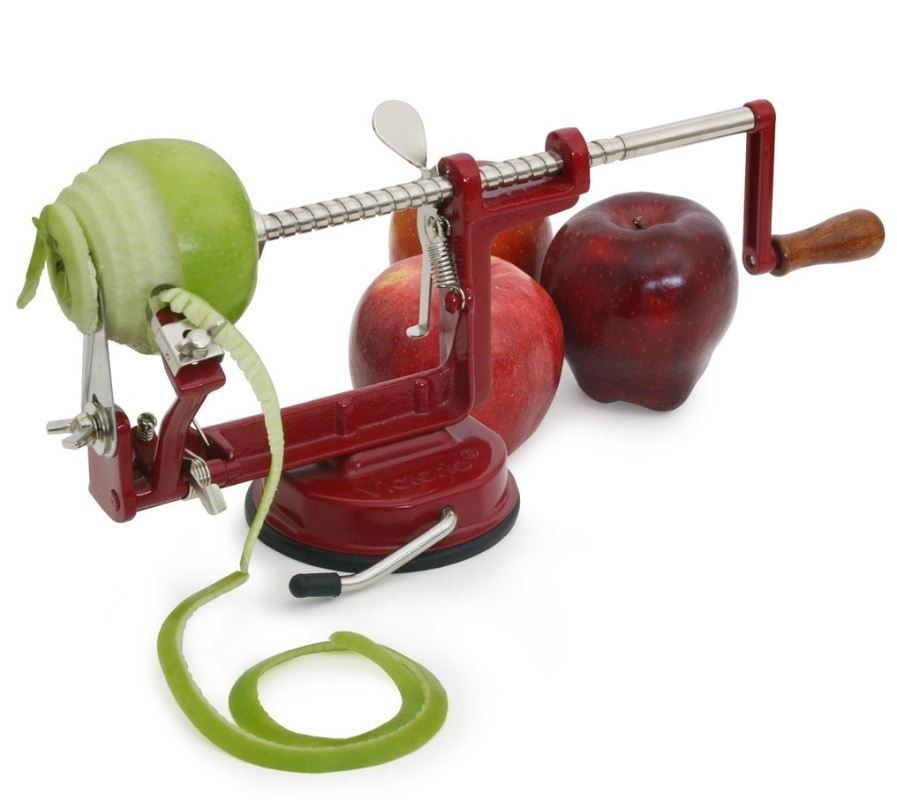
10.Apple Peeler -Can you peel apples by hand? Yes. Will it take forever? Also yes. An apple peeler like this one can save you time when you need to peel, core, AND slice your apples all at the same time. Make apple butter and apple pie filling in record time and with minimal effort! Apple peelers can also double as potato peelers and slicers like this one. And there are two styles of peelers - ones that clamp down to the edge of your counter and ones that use a powerful suction cup to anchor to a flat surface.
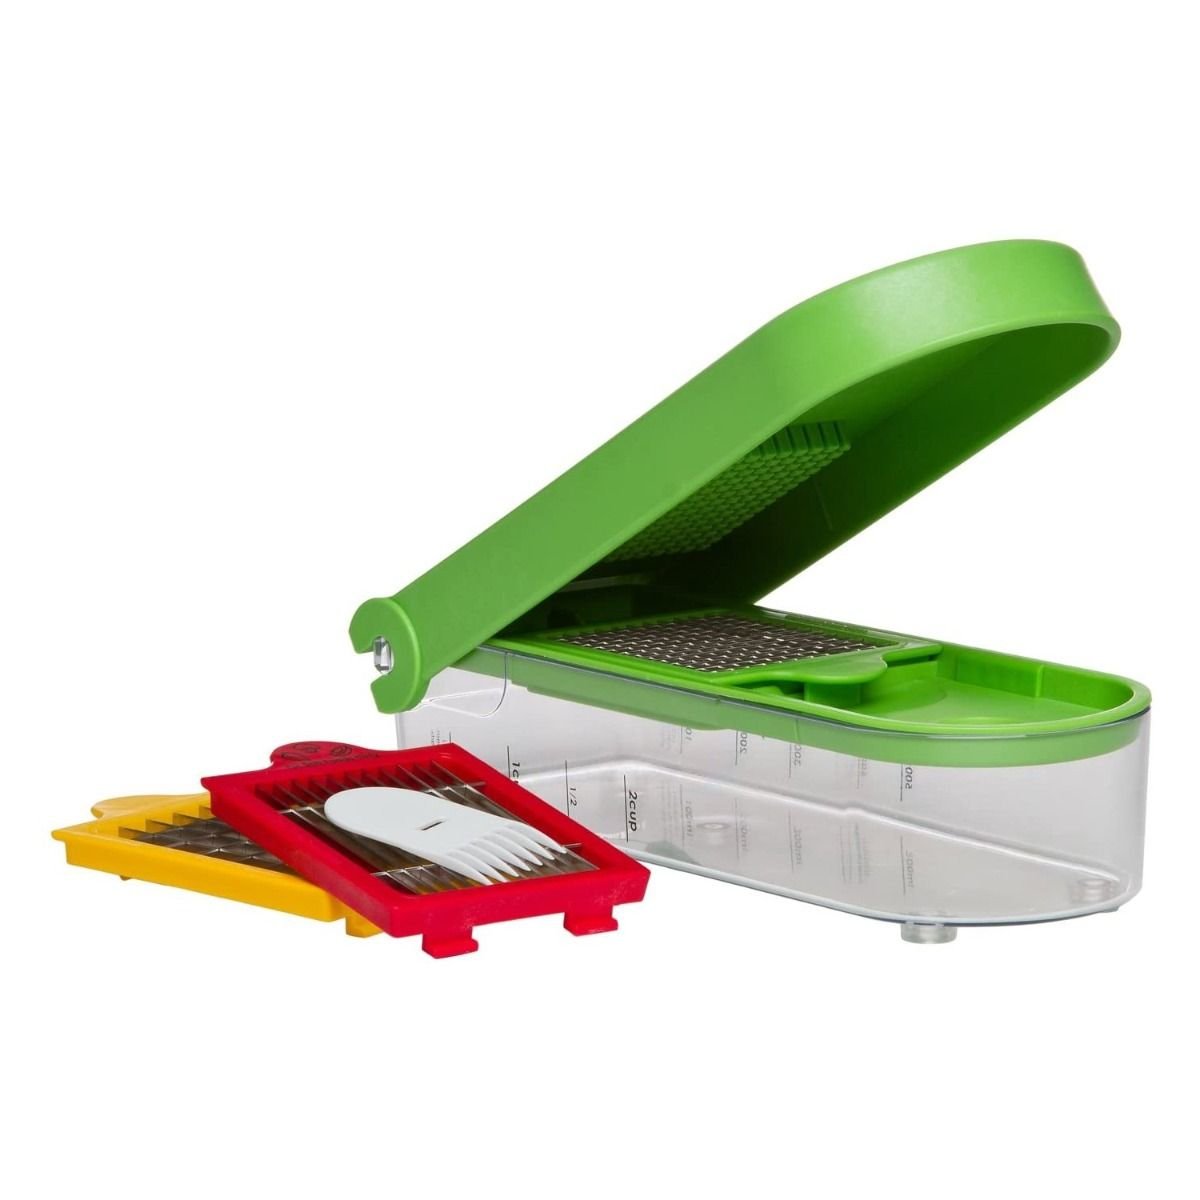
BONUS - 11.Multi chopper- We're not saying you don't know how to chop, but a multi-chopper is going to make slicing and dicing faster and make cuts more uniform. More uniform cuts lead to a more consistent taste for your homemade sauces and salsa when all the onions and peppers are cut the same size. When you're doing a major canning weekend, it's nice to cut 30 of those bell peppers to a perfect dice in a fraction of the time of a chef knife. We've used this mulit-chopper from Progressive and are very impressed with it, we're sure you will be too.
Once you've decided what you want to preserve, you need to choose the correct canning method. There are two canning categories your food will fall into - either water bath canning or pressure canning. The method you choose is determined by the amount of natural acid present in the food (measured by pH - acidity or alkalinity). Take a look below to figure out what category your food falls in. If you're looking for exactly how to process and can your food, check out our Complete Guide to Water Bath Canning or our Guide to Pressure Canning at Home.
Pressure Canning - Low Acid Foods
Pictured above is the All American Pressure Canner (left) and the Carey (Nesco) Smart Pressure Canner (right).
If you want to can all of the garden's veggies like carrots, green beans, and potatoes, or make one canmeals of beef stew or chicken soup, then you need a pressure canner. Low-acid foods like this require a higher canning temperature to kill off any bacteria that thrive in low-acid environments. A great thing about pressure cookers is that you can also use it as a water bath canner, so you can do all types of canning!
What is Pressure Canning?
In pressure canning, water is brought above the boiling point to 240°F. This is achieved through a special piece of equipment called a pressure canner. Low-acid - 4.6 pH or higher - canned food is then partially submerged into the water and locked into the pressure canner for a period of time (determined by tested recipes). At this temperature, molds, yeast, and harmful bacteria such as botulism are destroyed in low-acid foods and the canned food can remain shelf stable for up to one year.
Foods to Pressure Can
Low-acid foods 4.6 pH or higher including:
Vegetables:Okra, carrots, beets (non-pickled), turnips, green beans, spinach, lima beans, peas, corn, potatoes
Meats & Fish: Beef, pork, chicken, wild game, and seafood
The All American Pressure Cooker Canner is honestly one of the best-constructed pressure cookers I've ever seen. The pressure canner is made in the USA, the double thick aluminum walled vessel is produced by the Wisconsin Aluminum Foundry. The All American Pressure cooker also features a metal-to-metal seal instead of using a rubber gasket like most pressure cookers. This makes maintenance and cleaning much easier. They offer multiple sizes to fit your canning needs. These types of pressure cookers are heavy from the thick walls of aluminum and not well suited for glass top or flat-top ranges. We recommend only using a natural gas indoor stove or outdoor burner.
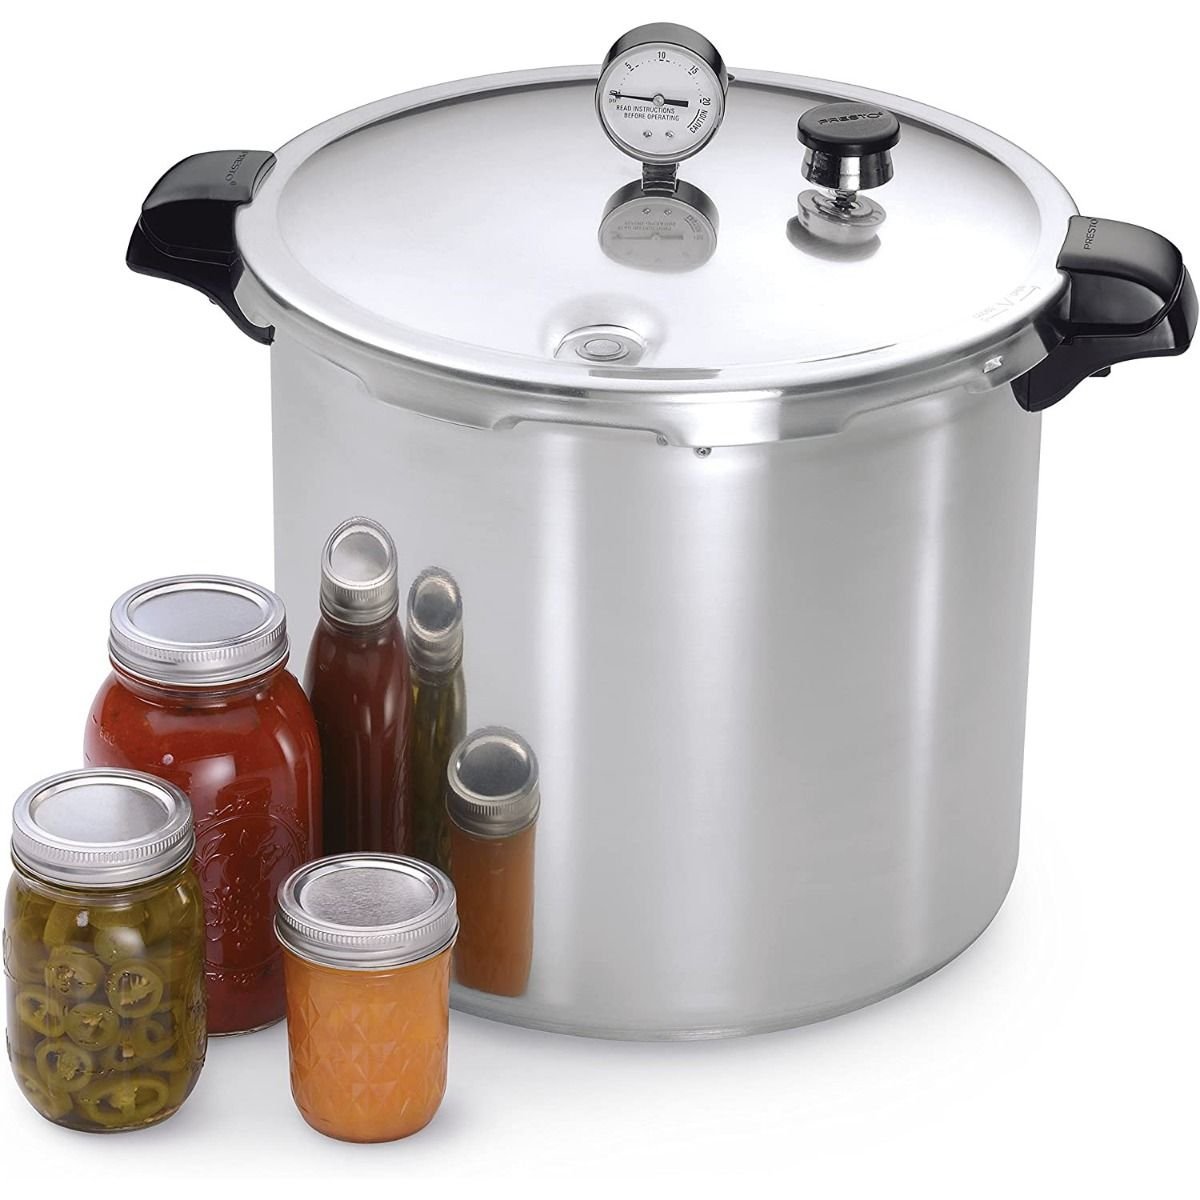
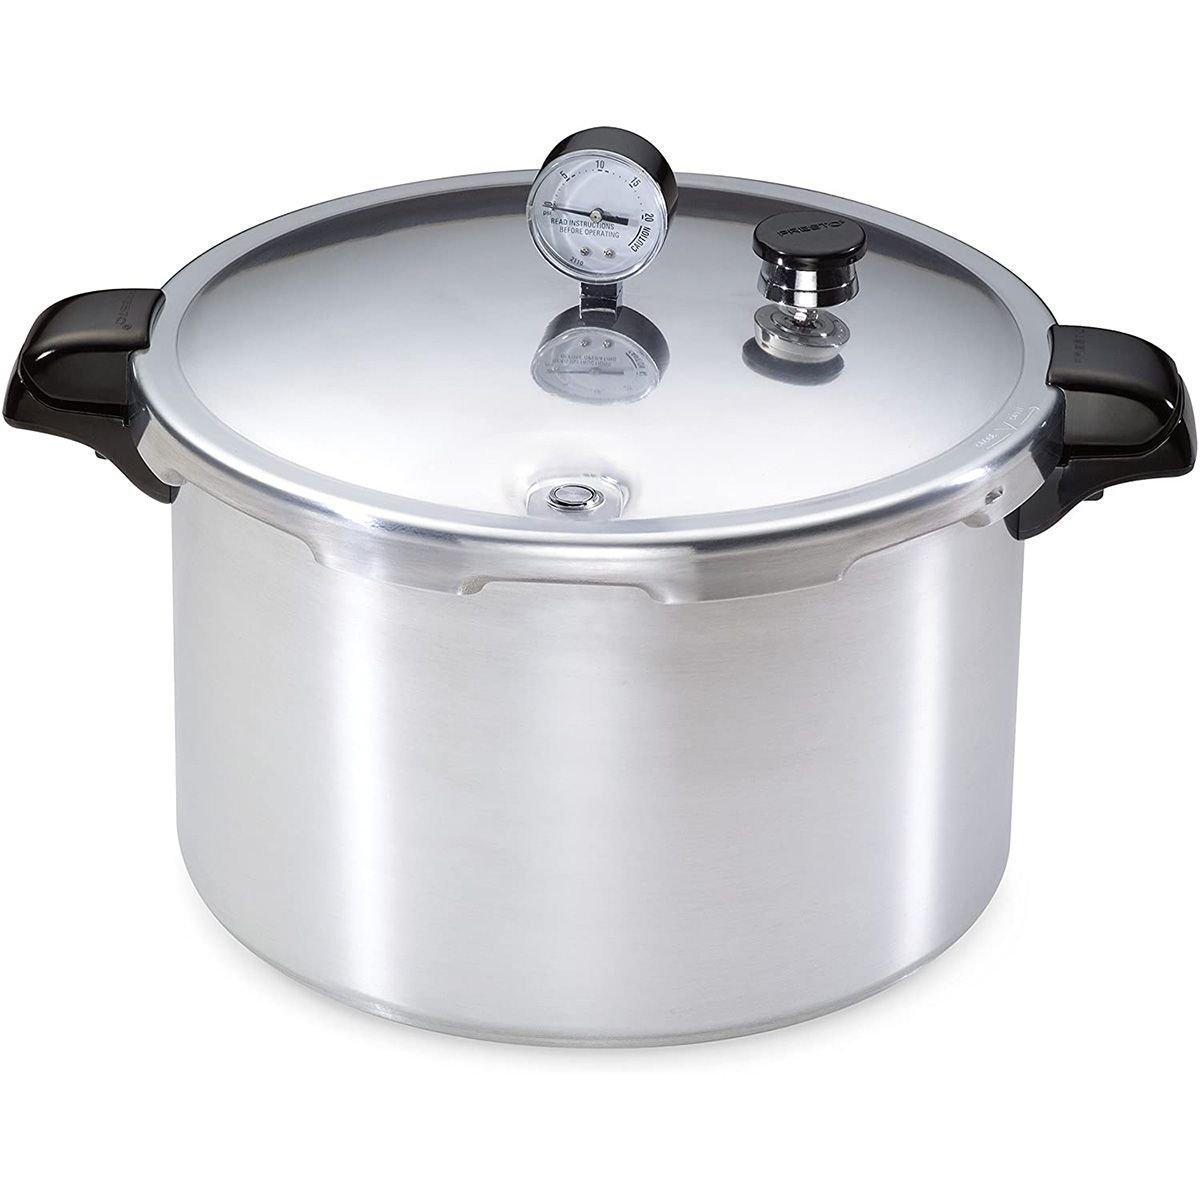
The Presto Pressure Cooker is a great option if you want to pressure can food on a budget and is a great first pressure canner. This unit can hold 7 one quart jars at a time. Because this is a lighter-duty model compared to the All American model, the Presto Pressure Cooker is suitable for regular and smooth-top ranges. There is a gasket that will need to be maintained and possibly replaced in the future, but the Presto Pressure cooker does come with a 12-year warranty.
Why Go Manual Stove-Top? Manual Stove-top pressure cookers come in various sizes (we have up to 41.5qt sizes!) to suit your pressure canning needs. Process multiple jars at once in a stove-top pressure cooker. A pressure cooker can also be utilized as a water bath canner as well. You will have to have a propane stove or outside propane burner to use a manual pressure cooker. You'll also want to read and research the proper pressure you need for your canning recipe and take in consideration your elevation of where you are canning as these factors will affect the canning process.
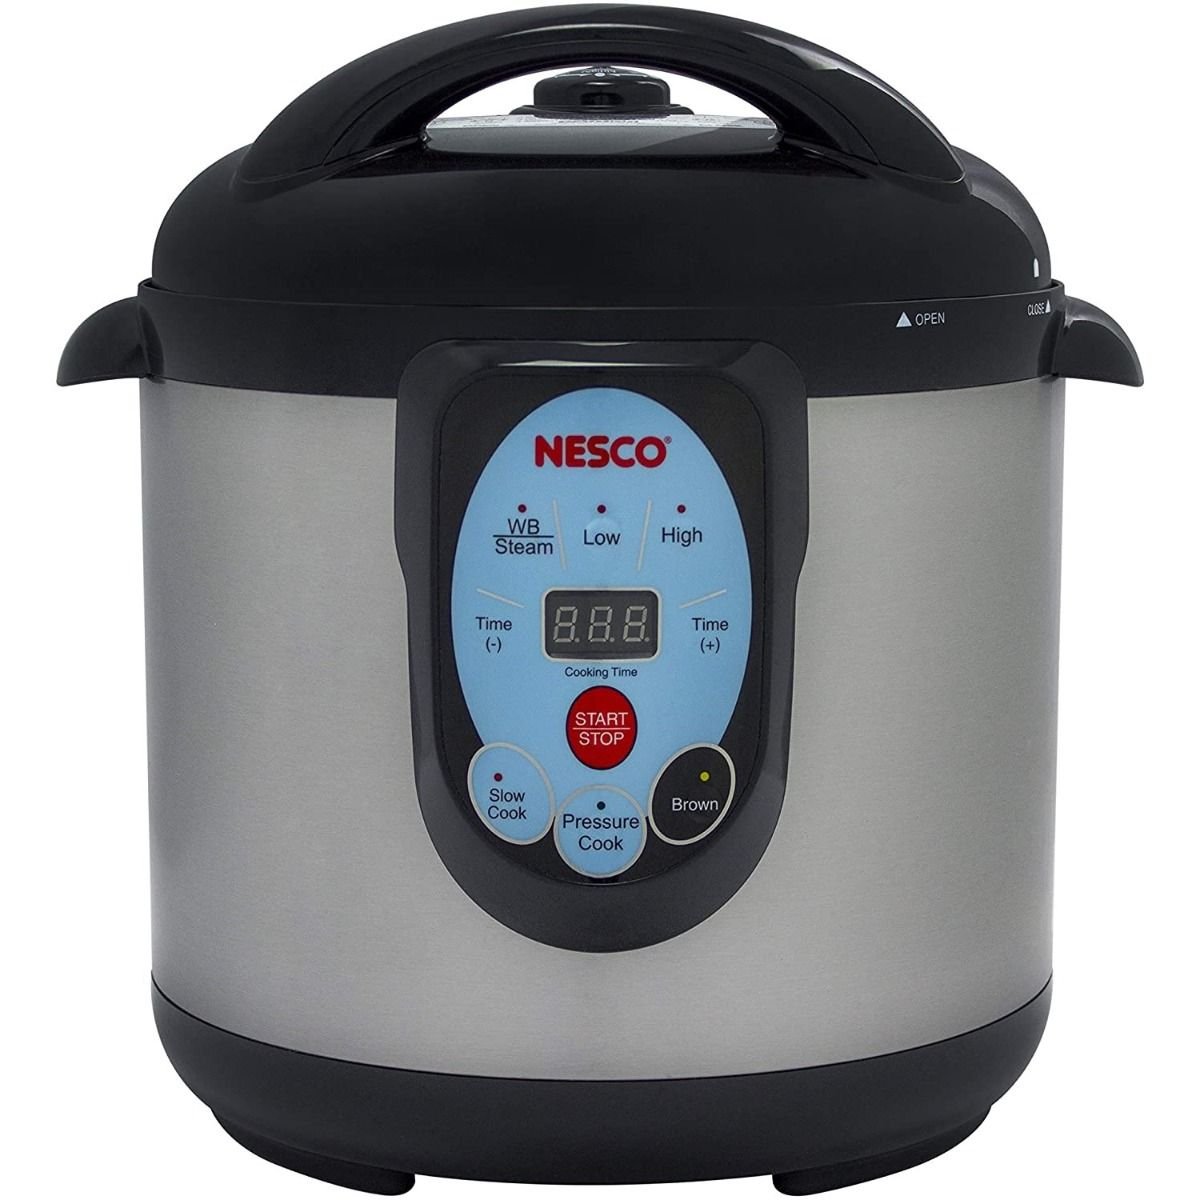
Why Go Electric? With an electric pressure canner like this one from Nesco, much of the guesswork is taken out of canning. The Nesco Smart Canner knows digitally the correct temperature and pressure and will automatically release excess pressure off to keep correct canning conditions. In traditional pressure canning, you need to use a manual stovetop model with propane or natural gas, and if you don't have a gas stove (or propane burner outside), the Nesco Smart Canner is a great solution you can plug into the wall, no stove required. It's also a multi-appliance, you can water bath can, pressure can, and even cook meals like you would with a pressure cooker. The only downside is that you may not get as much canning space as you would with a manual stove-top model.
The Victorio Stainless Steel water bath canner is a great way to get introduced into the canning world.
If you love pickles, jams, jellies, and canned fruits, water bath canning is right for you. All of these foods are high acid foods; the acid in these foods (or added acid from vinegar, like with pickles for example) will keep the food preserved and safe to eat once canned in a boiling water bath. Water bath canning is easier to learn and operate compared to pressure canning, so this is a great method to learn first if you aren't ready to dive into pressure canning.
What is Water Bath Canning?
In water bath canning, water is brought to the boiling point of 212°F. High-acid and acidified - 4.6 pH or less - canned food is then submerged into the water for a period of time (determined by tested recipes). At this temperature, molds, yeast, and some bacteria are destroyed in high-acid foods and the canned food can remain shelf stable for up to one year.
Why Go Manual? A manual stove-top water bath is a low-cost investment and simple to understand and use. They'll work on any stovetop and a variety of sizes are available. Water bath canners are a great way to get introduced into canning at home.
Why Go Electric? With an electric canner like this one from Nesco, much of the guesswork is taken out of canning. The Nesco Smart Canner knows when it needs to crank up the heat or when to let off to keep correct canning conditions. It's also a multi-appliance, you can water bath can, pressure can, and even cook meals like you would with a pressure cooker. The only downside is that you may not get as much canning space as you would with a manual stove-top model.
Pro Tip-1: Save lots of time, you may not need to pre-sterilize your canning jars. In recent years, some of the canning guidelines have changed. According to the National Center for Food Home Preservation "Empty jars used for vegetables, meats, and fruits to be processed in a pressure canner need not be pre-sterilized. It is also unnecessary to pre-sterilize jars for fruits, tomatoes, and pickled or fermented foods that will be processed 10 minutes or longer in a boiling-water canner." For more info, check out their website here.
Pro-Tip 2: When your canning recipe calls for salt, be sure to use canning salt. Do NOT opt for table salt or kosher salt - some salts can have additives (like iodine) and can affect the preserving process and color of your canned food. Most tested canning recipes will be using canning salt that is small grain and non-iodized.
Pro-Tip 3: Fresh is best. Try to use the freshest food available when canning. Fruits and veggies taste the best at the peak of their season and the freshest food will come from your local farmer's market. Food from the grocery store typically is shipped from across the country and can have waxes, coatings, and chemicals on the outside that will affect the flavor and appearance of your canned food.
Pro-Tip 4: Give yourself time to can. Make a day of canning, it is a lengthy process of processing your food, sanitizing jars, and doing batches of food in the water bath. Canning is not an hour-long project you want to jump into - plan ahead and reap the benefits all year long when your pantry is full of canned goods.
About the Author:
Chef Austin Merath is Everything Kitchen's Culinary Wizard, Kitchen-Gadget Reviewer, and New-Product Tester. He studied under chefs in College of the Ozarks' Culinary Program. It's his job to make sure you choose the kitchen tools that are right for you by testing the best we have to offer. When not cooking, Austin is tinkering with computers or exploring the Ozarks with his wife Amy. Click here for his full bio.


 KitchenAid
 Fiesta®
 Bosch
Bosch All-Clad
 Cuisinart
 OXO
OXO Le Creuset
 Blendtec
 Wusthof
 Bormioli Rocco
 Vitamix
 Emile Henry
 DeLonghi
 Mason Cash
 Nordic Ware
 Kilner
 Swiss Diamond
 TeakHaus
 Ankarsrum
 LEM
LEM Weston
 Moccamaster
 Mercer
 All American 1930
 CucinaPro
 SMEG
SMEG Toddy
Toddy Everything Kitchens