Complete Pressure Canning Guide - How to Can at Home
Pressure Canning Guide - Getting Started with Home Canning
By Chef Austin
Are you ready to take the plunge into canning at home? Pressure canning may seem intimidating, but our canning guide is here to demystify the process and give you helpful tips along the way. We'll go through all the proper pressure canning tools and supplies you need to get started canning and then give you the step-by-step lesson on preserving your garden harvest. Let's can!
Why Pressure Can Food?
If you want to can all of the garden's veggies like carrots, green beans, and potatoes, or make one can meals of beef stew or chicken soup, then you need a pressure canner. Low-acid foods like this require a higher canning temperature to kill off any bacteria that thrive in low-acid environments. A great thing about pressure cookers is that you can also use it as a water bath canner, so you can do all types of canning!
What is Pressure Canning?
In pressure canning, water is brought above the boiling point to 240°F. This is achieved through a special piece of equipment called a pressure canner. Low-acid - 4.6 pH or higher - canned food is then partially submerged into the water and locked into the pressure canner for a period of time (determined by tested recipes). At this temperature, molds, yeast, and harmful bacteria such as botulism are destroyed in low-acid foods. Canned food can remain shelf stable for up to one year.
Foods to Pressure Can
Low-acid foods 4.6 pH or higher including:
Vegetables:Okra, carrots, beets (non-pickled), turnips, green beans, spinach, lima beans, peas, corn, potatoes
Meats & Fish: Beef, pork, chicken, wild game, and seafood
Chef Austin's Tip: High-acid foods 4.6 pH or lower such as fruits like peaches, jams & jellies, and pickled food benefit from being water bath canned. Check out our Complete Water Bath Canning Guide to find out more.
Required Pressure Canning Supplies
Here is a quick list of everything you will need to get started with home pressure canning. If you want to know more about these essential canning tools, check out our Getting Started Canning article for a more information on each of these supplies and other kitchen tools that will help you get canning at home.
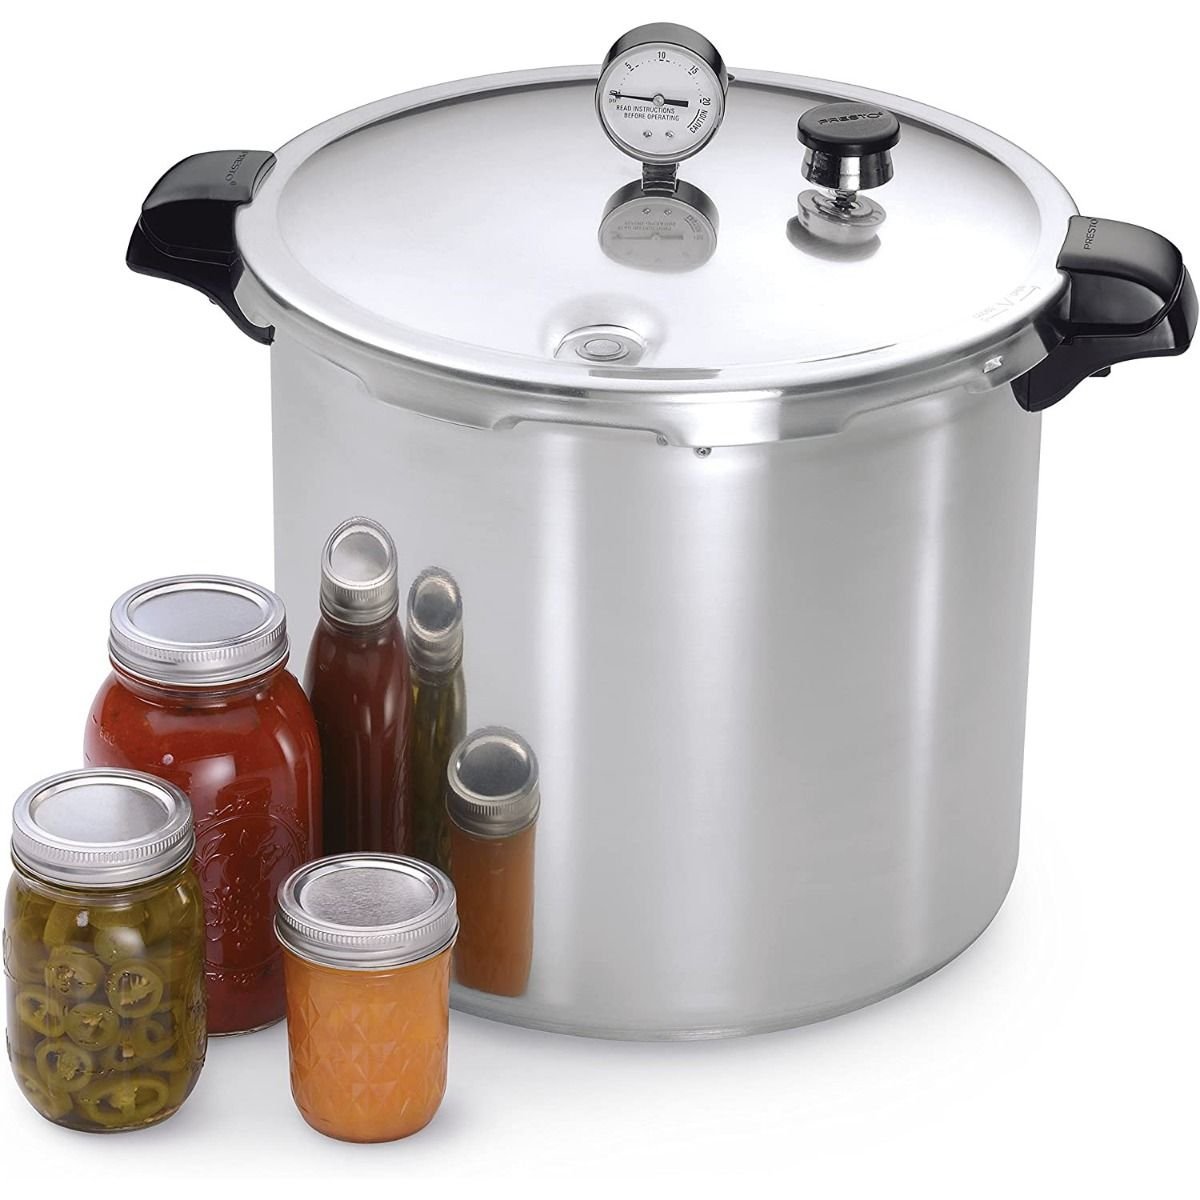
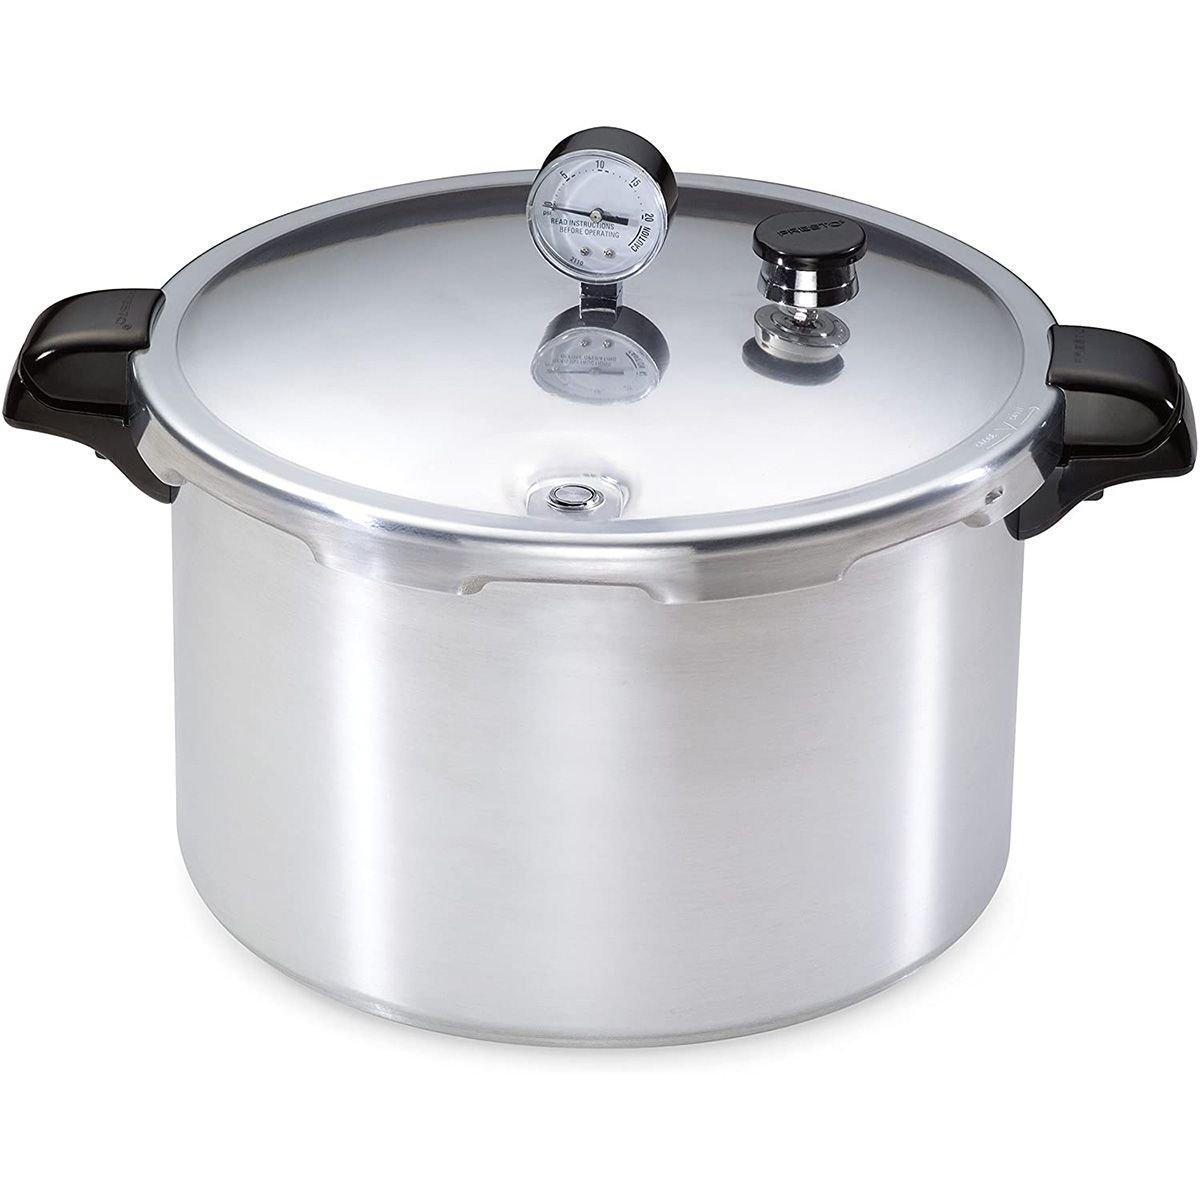
Pressure Canner:
All American No.915 Pressure Cooker Canner 15.5 qt. - Wisconsin Aluminum Foundry - Compatible with all types of stovetops; however due to the prolonged exposure to heat & pressure during the canning process, the use of gas ranges & burners is recommended. You can also use an outdoor natural-gas burner. Multiple sizes of the All American Pressure Cooker Canner are available.
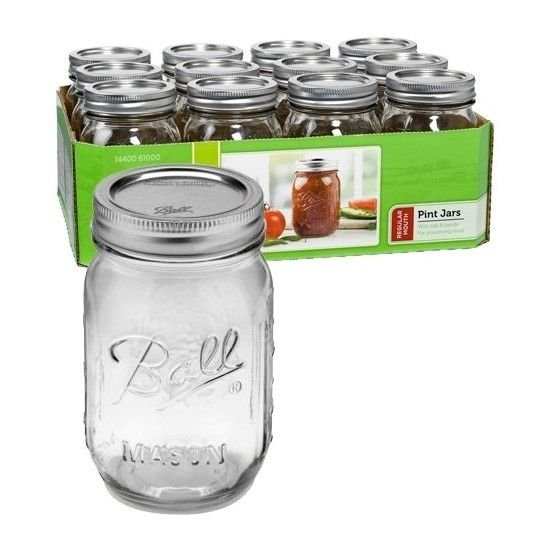
Ball Canning Jars (various sizes and capacities) appropriate for your recipes
New Canning Lids - If you are using your own jars, be sure to use brand new canning lids and jars free of cracks, chips, or scratches. You can safely reuse canning bands
Jar Labels - Stay organized, label and date all the food you can at home
Ball Canning & Recipe Book - Make sure you're using a tested recipe that will stay preserved and safe. Many tomato-based sauces will can in a water bath, but they have to be balanced at the right acidity - too many low acid foods like onions, peppers, and mushrooms will disrupt the pH level (amount of acid in the food). At that point, a tomato sauce recipe will not process safely in a water bath and would need to be pressure canned or risk the growth of bacteria like botulism from improperly processed ingredients. This is why it is so important to use tested recipes when canning.
Plenty of Time - Make sure you have ample time to prepare all of your harvests and to can multiple batches of canned goods.
Additional Food Prep Tools:
Top 10 Home Canning Supplies & Tools - Above is the absolute essential supplies to start canning, but your canning experience can go smoother with some basic food prep tools. Check out our Top 10 Canning Tools article to make peeling bushels of apples and chopping a peck of peppers much faster and easier plus a deeper look at the tools above.
Whether you want to put up the gardens peas and cornor make pints of chili to enjoy all winter, you'll need to prepare these recipes in advance (and make sure to use a tested recipe!). Blanch and peel those tomatoes, clean and snap all the green beans, make your hot brines or syrups, blend up the salsa - whatever you are going to can, make sure its ready to be packed into your glass jars.
Prepare your jars:
You'll want to start with clean jars. Simply wash jars, lids, and bands with hot soapy water and then dry with a clean cloth. Set out a large towel on the counter, close to your canner, to set your hot jars on as they are removed from the pressure canner.
Prepare and operate your canner:
Once your recipe is prepared, it's time to prepare your pressure canner.
1. Fill a large stockpot a few inches from the top with water. Place a canner rack into the bottom of the stockpot. Bring to a roaring boil, then lower heat down until water is barely bubbling at a simmer (180°F).
2. Meanwhile, fill your pressure cooker pot with 3" of water (if no amount is specified in the manufacturer’s instructions) and place the canning rack in the bottom. Bring water to a roaring boil, then lower heat down until water is barely bubbling at a simmer (180°F).
3. With a jar lifter, place empty canning jars into the simmering water of the stock pot - you can keep them here until you are ready to start packing. This is keeping the jars hot, so when you put hot food or liquid into them, they will not break from thermal shock.
4. With a jar lifter, lift a hot jar out of the water and carefully pour the water back into the pot. Place the jar on a dry towel lying on your counter.
5. Place a canning funnel onto the jar and fill the jar with the prepared food according to the recipe. You may want to use an oven mitt to handle the hot jars.
6. Check for headspace with the headspace and bubble freer tool. Your recipe may tell you the correct headspace - a general guideline for headspace in pressure canned foods is 1".
7. Use the bubble freer to remove any trapped air by placing it in between the food and side of the jar. Gently move the food away from the side of the jar to release any air that may be trapped. Check for headspace once more and add additional food or liquid if necessary.
8. Wipe the jar rim with a clean damp rag. Any food on the rim can cause the seal to not function properly.
9. Using the magnetic lid lifter, place lid on the jar. Do not touch the bottom of the lid as this can transfer bacteria to your food. Install the band and screw on until fingertip tight.
10. Place filled jars into canner rack of the pressure until canner is full. Jars should not be touching each other. At this point, follow manufacturer's directions* for locking the lid on and bringing pressure cooker up to pressure.
11. Once pressure cooker is at proper pressure (according to the recipe), start a timer for your food according to your recipe. Once the timer goes off, turn stove burner off and let pressure cooker depressurize according to manufacturer's directions.
Chef's Note: Make sure you are bringing the pressure cooker up to the proper pressure based on your altitude. You may have to adjust the pressure up or down based on where you live. The manufacturer will have this information available for your specific model pressure cooker.
12. Safely remove the pressure canner lid according to manufacturer's directions - make sure to always lift away from you to avoid steam burns. With a jar lifter, remove the jars - keeping them straight up - and place them on a large towel on the counter. Do not retighten the metal bands. Let jars cool, undisturbed, for 12 hours.
13. Test jars for a vacuum seal. Gently press into the middle of the lid, if it does not move or concave, the jar is vacuum sealed. Remove the metal band, wipe down with a clean damp cloth, then hand tighten the band back onto the jar.
14. Be sure to label each jar with the contents of the jar and the date your food was canned. Store in a cool, dry, dark place. For best tasting results, eat canned food within one year.
*This guide is a general guide for pressure canners. Always be sure to fully read the manufacturer's directions for your specific pressure cooker. If you do not have the original manual, typically the manufacturer's website will have means to acquire them.
Chef Austin Merath is Everything Kitchen's Culinary Wizard, Kitchen-Gadget Reviewer, and New-Product Tester. He studied under chefs in College of the Ozarks' Culinary Program. It's his job to make sure you choose the kitchen tools that are right for you by testing the best we have to offer. When not cooking, Austin is tinkering with computers or exploring the Ozarks with his wife Amy. Click here for his full bio.


 KitchenAid
 Fiesta®
 Bosch
Bosch All-Clad
 Cuisinart
 OXO
OXO Le Creuset
 Blendtec
 Wusthof
 Bormioli Rocco
 Vitamix
 Emile Henry
 DeLonghi
 Mason Cash
 Nordic Ware
 Kilner
 Swiss Diamond
 TeakHaus
 Ankarsrum
 LEM
LEM Weston
 Moccamaster
 Mercer
 All American 1930
 CucinaPro
 SMEG
SMEG Toddy
Toddy Everything Kitchens